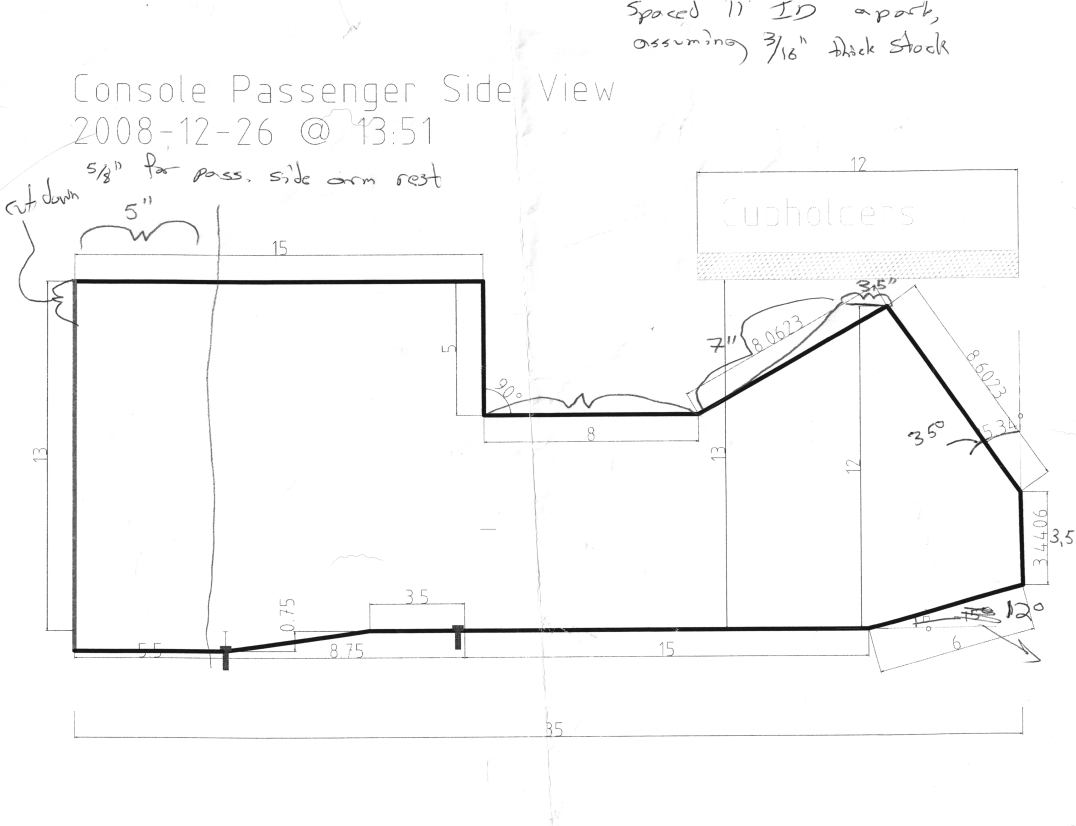
Updated December 26, 2021: This seems rather unbelievable almost thirteen years to the day after I started construction of this console… but I was just cleaning out a box of old paperwork of mine in my parents’ garage, and found the original dimensioned drawing for this project. I’ve updated this with a scan of those dimensions at the end of the post.
I’ll keep this post relatively to the point (the original full story is on eLightbars.org here and here). My 2006 Ford F-250 CC XLT was stolen in September, 2008. It was recovered about a month later, after Geico said they’d pay out, and after I’d bought another vehicle. Anyway, it came back from the body shop about 2 months later, and it was time to begin customizing it again. The main parts of the project were wiring and installation and building a custom console…
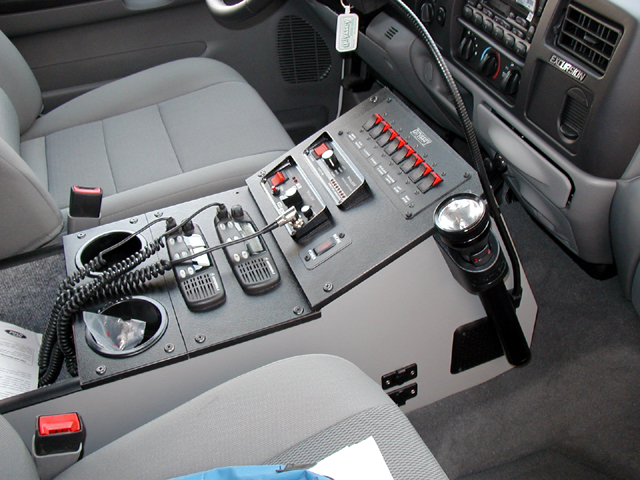
My main inspiration was some of the custom consoles done by places like Odyssey, though I wanted something carpeted (hopefully a close match to the factory interior). The main idea I was working off of was this one from Odyssey:
The general idea was to have a replacement for the factory console which would allow mounting of a radio, emergency lighting controls, and a few other things while not sacrificing storage space. The specific requirements that I came up with included:
- Mount over the transmission hump more or less where the factory console is, forward to the dash.
- Allow access to the pull-out cupholders in the dash and not impede access to any controls.
- Fasten to the floor using only the four factory console bolts.
- Allow mounting of at least one radio, one switch box, GPS and scanner.
- Radio and switch box should be mounted using the Jotto Desk faceplates that I had from the CVPI console.
- The real clincher that prevented me from using a stock console: Have a large storage compartment comparable to the factory console.
- Provide a set of rear cupholders.
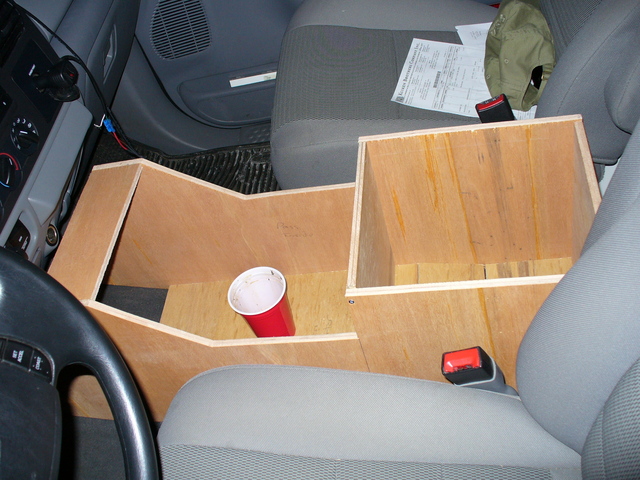
I spent some time over the course of three days or so measuring the console area of the truck and drawing out my initial plan in CAD (specifically the demo version of QCAD for Linux - regrettably not Free software). Once I had the plans drawn up and was satisfied that the angles and measurements were within acceptable tolerance, I made a full-scale prototype out of foam core board. With a little shaving of the corners, I managed to get a relatively good form and transferred it to ½” cabinet-grade luan plywood. It was a bit difficult with only a jigsaw, but worked out relatively well. While I can’t seem to find any pictures of the foam core, here are some of the wood form being assembled and the test fit in the truck:
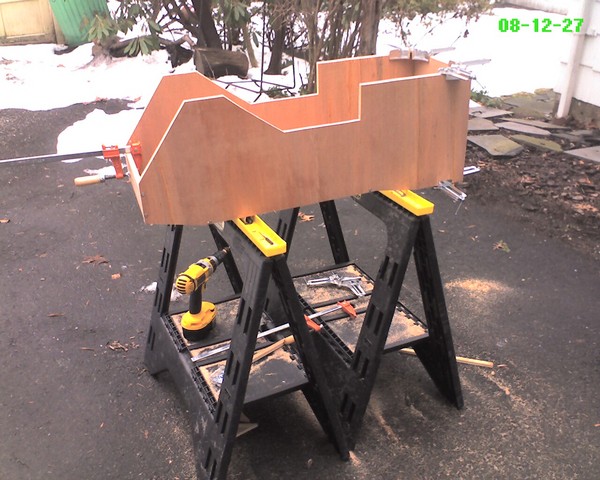

I’d originally been a bit worried about the structural integrity, but I found that by clamping the corners, pre-drilling and securing them with aggressive wood screws at approximately 1 screw per 1.5 inches along the joints, the plywood held together fine.
After testing the fit and checking that the four factory bolt holes lined up correctly (which they did, and also held the console quite securely), I pulled it back out and started the process of carpeting it. I bought 2 yards (76 x 72 inch) of color #8078 “Dark Grey/Quartz” plush cut pile automotive carpet from StockInteriors.com, for about $80 with shipping. It turns out that the color isn’t an exact match to the factory carpet (I got 6 sample squares from them and this was the closest color) but it’s a good medium between the carpet and upholstery.
Planning for how to cover this wooden behemoth with carpet took quite a few hours, and short of making it into a week-long job of sewing, I decided to wrap the sides and back with one piece, folded over on the bottom and top edges of the storage box, then use separate pieces for the top of the console and the front (which would be adjacent to the dash and mostly hidden from view). I started off with a plan to use 3M Super 90 spray adhesive, on the advice of an ELB member. Unfortunately, I could only find Super 77.
Prior to carpeting, I had to get the equipment mounting openings down to about 8.5” for the 8.75” Jotto faceplates. I cut some excess luan plywood down into 2” wide strips and then cut them to length for the openings, sandwiching about three together with Liquid Nails and then mounted them vertically on the sides of the console.
Carpeting the console at 2 AM probably wasn’t the best idea. I looked at how the cut edges of the carpet would meet and the corners, and decided I’d need some sort of edge molding to make it look good - preferably black powder coated aluminum, somewhere around ½” legs. As such, I decided to forgo most of the glue and stapled the carpet at the edges, planning to cover it with molding. Ok, I lose a few points for that one. The last thing to go on was the carpet on the front and top, which I glued with Super 77 and also stapled on the front (where it can’t be seen). I cut X-shapes in the mounting areas and folded the carpet down, stapling it to the inside of the console, and cut a slit in the front for wiring. The glue didn’t seem to hold on the narrow parts of the top/mounting area, but once faceplates were screwed in it was fine. The faceplates are just held in with screws into the vertical wood strips placed on the sides of the opening.
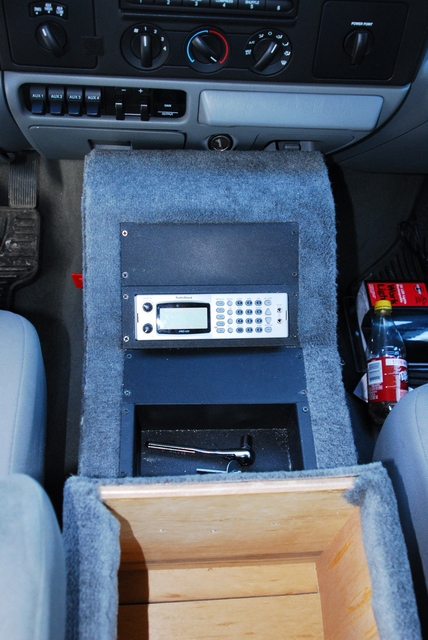
Top view of the console, mounted in place, with the unfinished storage box.
Equipment mounting area:
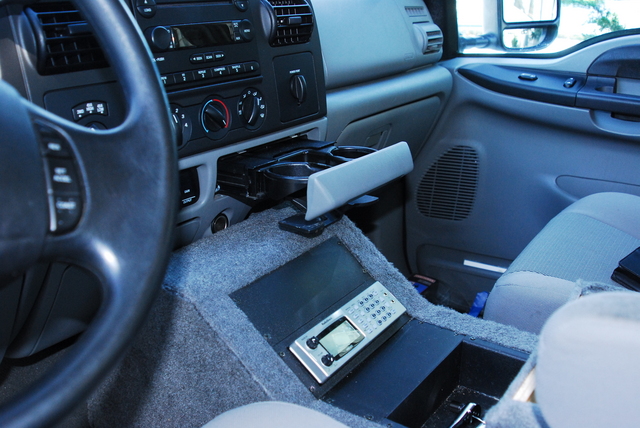
View from the driver’s seat:

Factory cupholders extended with just enough clearance to work:
Staples around the edges, intended to be covered with molding. They’re really not that visible unless you make a point of looking at them (given their placement). Red handle is a 100A cutoff for the main battery lead, with a removable handle.
The weekend after console fabrication, I started wiring. Here’s the relevant parts involving the console.
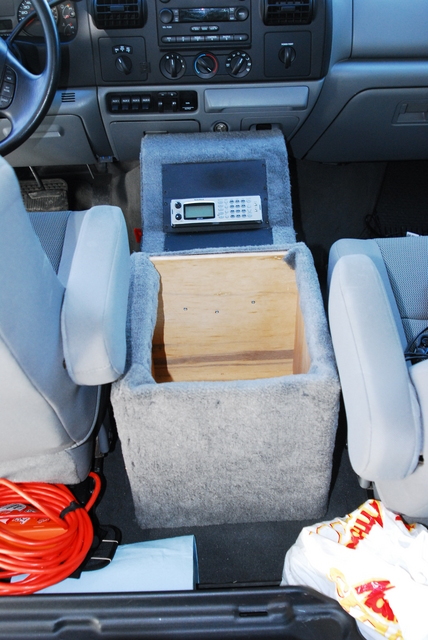
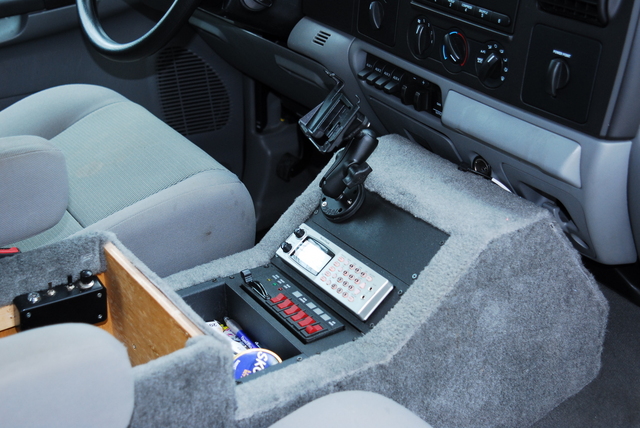
Semi-finished console with equipment mounted. Front-to back, RAM magnet mount for GPS, Radio Shack Pro-433, Galls SE082, nifty Jotto storage tray.
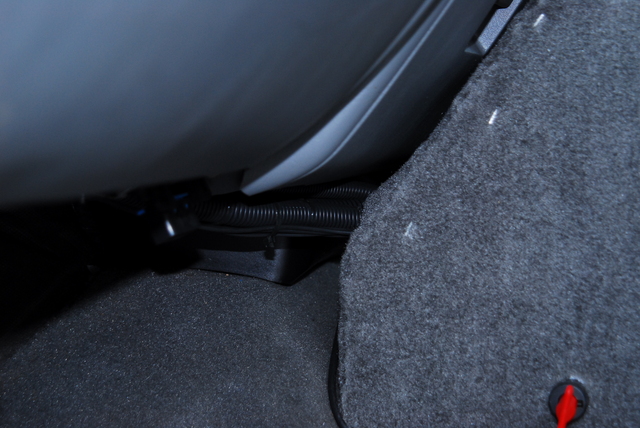
Wire routing in loom from the console to under the dash
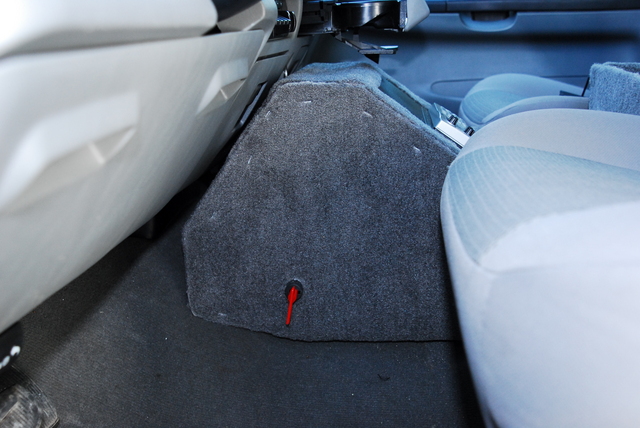
Rear of console - Jotto cupholder and charger for Streamlight Stinger
75014

Still to be done:
- Most of the wiring and installation.
- Lining the storage box with something, probably toolbox drawer liner.
- Making a cover/lid for the storage box.
Found, twelve years later: the original dimensioned drawing. Also available as a PDF.
Comments
comments powered by Disqus