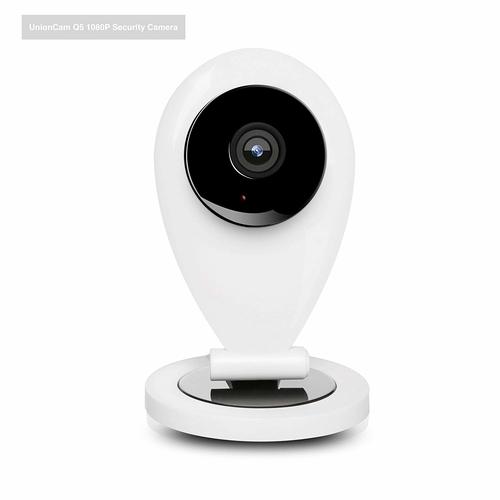
While I’ve been very happy with the Amcrest security cameras that I bought, I’m going out of town for a few days and would like to be able to keep an eye on my cats (and the pet sitter) while I’m away. Since this is going to be essentially temporary and indoors, I didn’t want to spend the $60-80 per camera that I did for the Amcrests. After looking around on Amazon a bit, I decided to try the UnionCam Q5, a $26USD indoor 1080p WiFi security camera. It’s a cheap-looking Chinese model with a baby-monitor-esque design, but it claims ONVIF compatibility and to work with some popular security DVRs like Blue Iris, so I figured it would be worth trying.
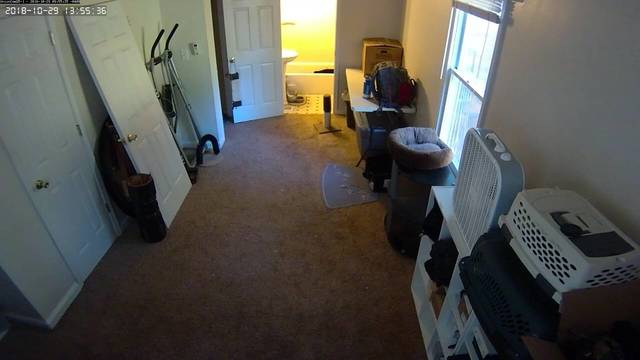
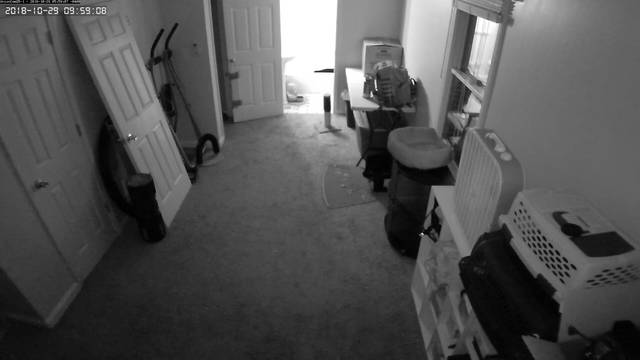
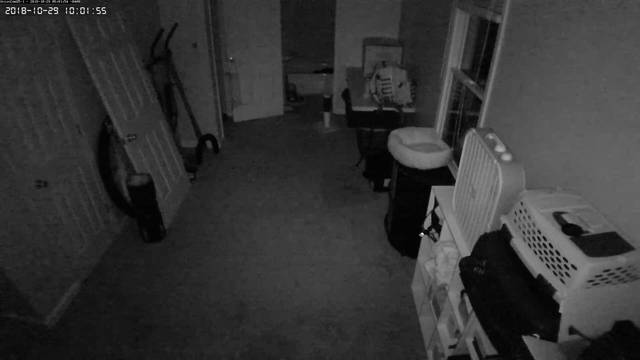
While the picture isn’t amazing (see some examples at the end of this post), I was pleasantly surprised that - despite documentation to the contrary - I was able to set it up without ever installing the vendor’s questionable proprietary phone apps, and that it works quite well with ZoneMinder. The night mode leaves something to be desired, but this should do quite well for my intended purpose and is priced perfectly for something that will be in a closet all but a few days a year.
The setup instructions say to download their iOS or Android app, connect your phone to a SSID broadcast by the camera, and then use the app to set it up. On a hunch I just connected my laptop to the SSID, checked my default route (192.168.10.1), and pointed my browser to http://192.168.10.1. Sure enough I got a login screen and used the default username from the documentation (admin) and the password from the sticker on the back of the camera (123) and was prompted to change the password. After that, I was dumped right into a really bare-bones UI with a “Network Configuration” page asking for a SSID and password. I entered the info for my isolated IoT network and clicked save. Some sort of error dialog popped up, but within a few seconds the camera was connected to my network, no app needed.
Setup in ZoneMinder was more or less the same as any other RTSP source, like my Amcrest cameras. I set a source type of ffmpeg and a source URL of rtsp://admin:PASSWORD@IP:554/ (where PASSWORD is the password I set through the web UI and IP is the IP address of the camera). ZoneMinder started capturing within a few seconds, and appears to be capturing full 1920x1080 at approximately 15fps.
One thing that really bothered me was that the camera was showing a timestamp in the top left of the frame, stuck at a Unix timestamp of zero (January 1, 1970); I figured this is something that the app would normally fix, as the web UI doesn’t provide a way to set anything useful other than the password and wireless connection details. The vendor claims ONVIF compatibility but some of the Amazon reviews dispute this, so I decided to look into it a bit. I fired up a Windows VM with ONVIF Device Manager and the camera was immediately detected.
The ONVIF support itself, however, appears to be a bit spotty. I attempted to change the frame rate from 20fps down to 10fps, but it just reverted back. Telling the camera to sync with NTP using servers from DHCP does nothing, and trying to manually set the NTP server just reverts back to DHCP. I was able to get the time somewhat correct by synchronizing with the local computer, but the timezone on the camera won’t change from UTC. Overall, ONVIF seemed to be a strange mix of clearly unsupported settings (i.e. ONVIF Device Manager reports them as unsupported), settings that would error on change, and settings that would appear to update successfully but then revert back to their previous values.
Overall, I’d say that I got what I paid for and I’m quite happy with the camera. I wasn’t expecting much, and just the fact that I could set it up without using the app, and it works successfully (and without any disconnect issues) as an RTSP source has me quite happy.
For reference, here are some stills from the camera in my storage room where I have the cats’ litter boxes, first during the day and then at night with a light on and without any lights on.


Comments
comments powered by Disqus